Payment Processing Workflow
Once you’re ready to process a payment for a client, you should first navigate to the booking list by selecting the “Bookings” option at the top of the screen, then “Booking List”. From here, you can find the booking that relates to the client who you are processing a payment for and click on it to navigate to the “Booking Details” screen. Note that in order to actually make a payment, the booking needs to be active and must have a balance due.
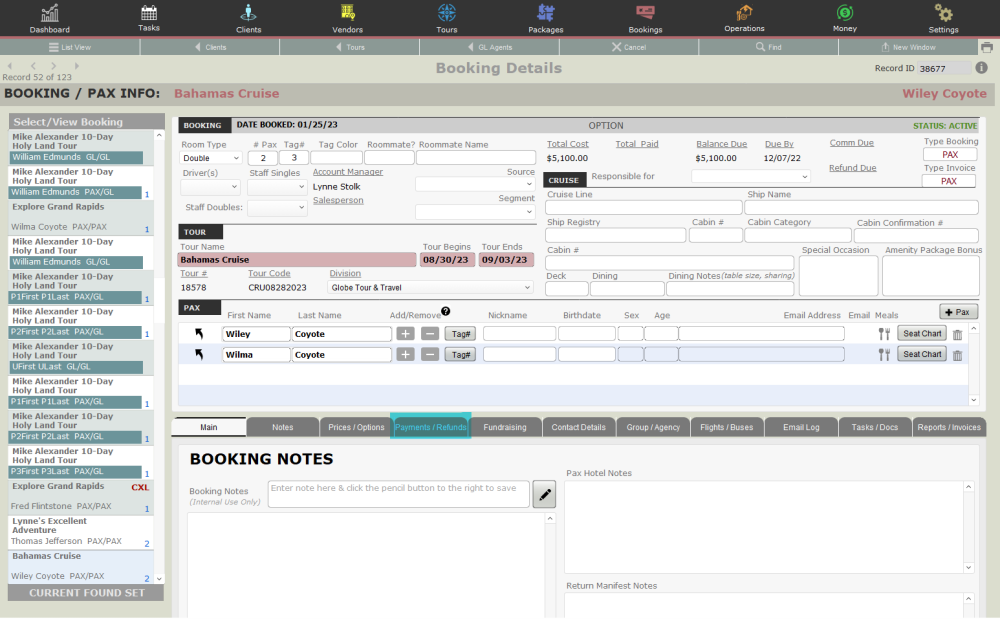
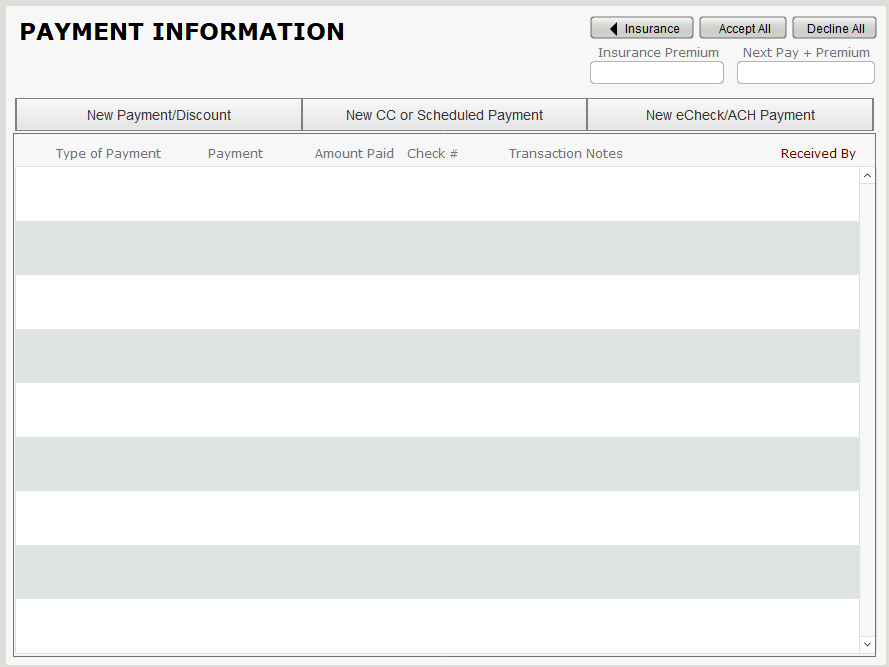
From the Booking Details screen, you will then navigate to the Payments/Refunds Tab, where you will be presented with three payment options to choose from. These options are:
- New Payment / Discount
- New CC or Scheduled Payment
- New eCheck / ACH Payment
Credit Card / Scheduled Payment
If you would like to process a credit card payment, you will choose the “New CC or Scheduled Payment” button.
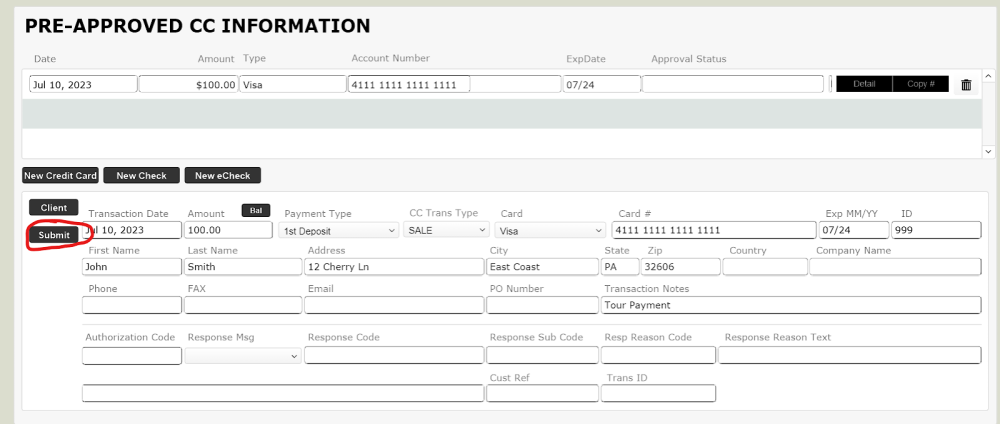
You will then see this screen and will need to ensure that fields are filled out correctly:
Once the fields have been filled out completely, then you should hit the “Submit” button in order to process the payment. A window will then appear, informing you on whether or not the payment was processed successfully. If it failed, then you will receive a message stating why the payment failed. If it was successful, then you will see a success message like the following:
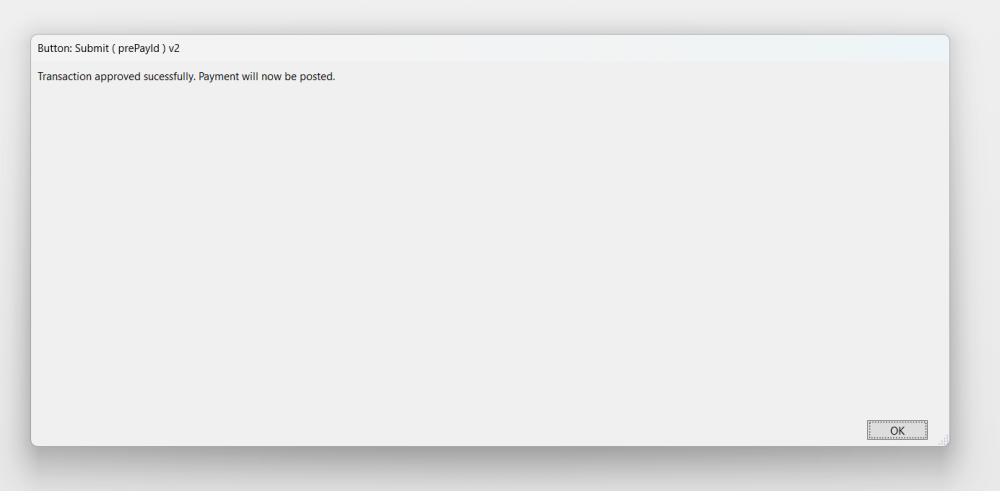
Once you select “OK”, you will be taken to a “Payment Entry” screen.
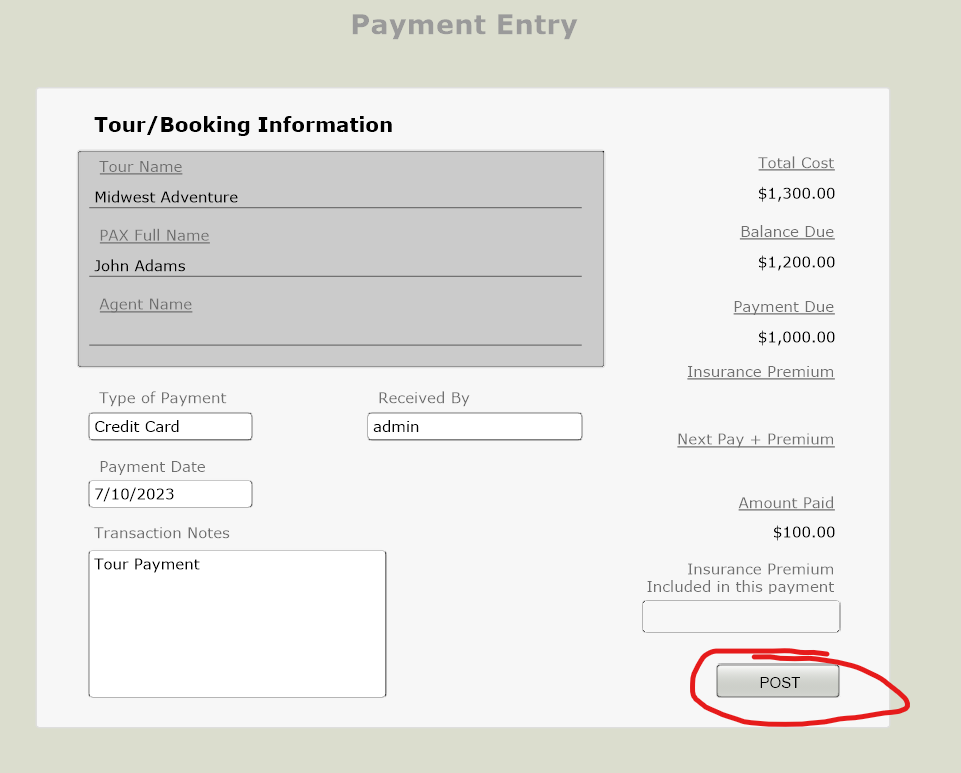
Here, you can review the payment that was just processed and, by clicking “Post”, you will then be redirected back to the Payments / Refunds screen. Now, you will be able to see the payment reflected in the “Balance Due section. The difference between the “Total Cost” and “Balance Due” should be the amount that you just submitted a payment for.

Voiding Payments and Processing Refunds
A payment can only be voided if it is still the same day that you submitted the payment for processing (or, if you have verified that your payment is in the “Unsettled” status in your payment server). Voiding the payment will remove it all together as if it never happened, and you will not need to submit a refund to your client. If it is not the same day that you submitted the payment, then you will need to process a refund instead.
VOIDING PAYMENTS
To void a payment, you will first need to go to the Payment / Refund tab. You should see something like the following:

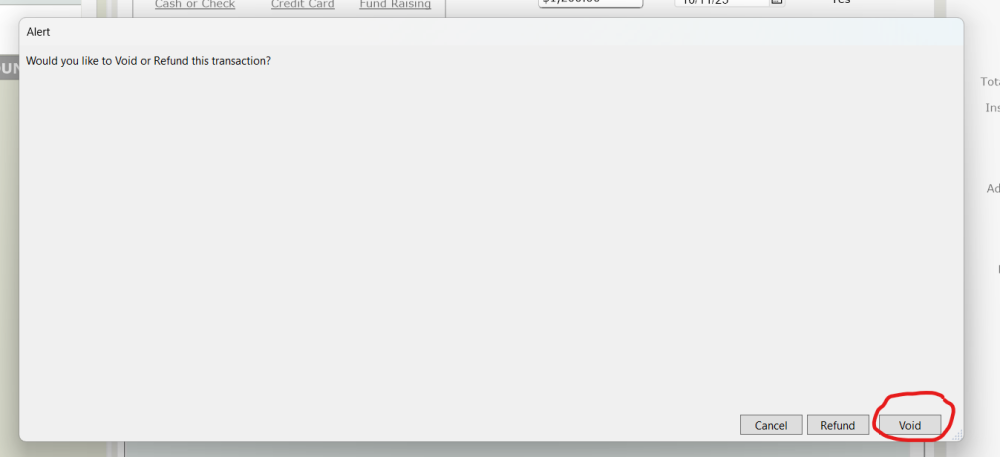
Find the payment that you would like to void, and then hit the corresponding “Cancel” button. A window will pop up asking if you would like to void or refund. Click “Void”.
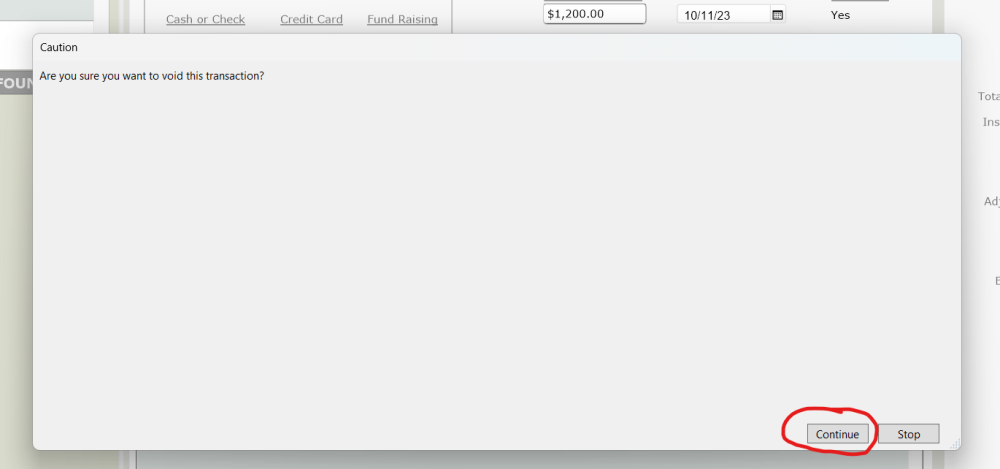
You will then be asked “Are you sure you want to void this transaction?” If you would like to continue with voiding the payment, then click “Continue”.
From here, you will be redirected back to the Payment Entry screen. Information will be autopopulated into the fields with Payment Type and CC Trans Type both filled in with “VOID”. At this point, you have successfully voided your transaction.
PROCESSING REFUNDS – CREDIT CARDS
To process a refund, you will first need to go to the Payment / Refund tab. You should see something like the following:

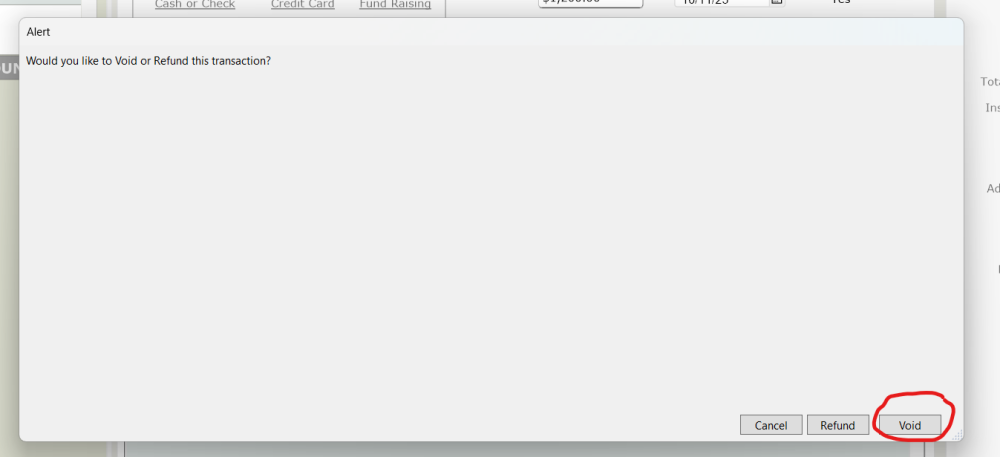
Find the payment that you would like to refund, and then hit the corresponding “Cancel” button. A window will pop up asking if you would like to void or refund. Click “Refund”.
You will then be asked “Are you sure you want to credit this transaction?” If you would like to continue with voiding the payment, then click “Continue”.
You will then be prompted to re-input the original credit card details.
PROCESSING REFUNDS – CHECK
The TourTools software offers a streamlined process for managing refunds through checks, particularly when there’s a cancellation penalty involved. This documentation provides a general guide on how to process refunds by check within the platform.
Steps:
1. Accessing the Deadlines Tab in Tour:
- Navigate to the deadlines tab within the specific Tour section to understand the cancellation penalties.
- The system provides the effective cancellation penalty based on the current date in relation to predefined penalty dates.
2. Initiating the Cancellation:
- Go to Bookings.
- Locate and click on the record of the traveler who wishes to cancel.
- Press the Cancel button to initiate the cancellation process.
3. Determining the Cancellation Fee:
- When prompted if a cancellation fee should be charged, select “yes”.
- The system will automatically assess the date and propose a cancellation fee based on the predefined penalty dates (e.g., a fee as determined by the deadlines tab).
4. Calculating the Refund Amount:
- The refund amount is calculated by subtracting the cancellation fee from the total amount the traveler has paid so far.
5. Entering the Refund:
- Navigate to the Refunds tab.
- Click on the Enter Refund Check button.
6. Entering Check Details:
- A new layout will appear.
- The primary field to fill out is the one labeled “Check #”. Enter the check number here.
- Other fields will typically be auto-populated or can remain as defaults unless there’s specific information to add.
Completion:
- After entering the necessary details and finalizing the refund, the traveler’s record will update to reflect the recent transactions.
- Confirm that the balance due for the traveler’s record indicates a zero balance, signaling the refund process’s completion.
If you have any questions that are not answered here Contact TourTools Support for assistance.


Post your comment on this topic.